Why Ballet Dancers Have Toned Backs + 5 Exercises to Try at Home | Fittbe
The Ballet Back: How Port de Bras Builds Beautiful Strength Without Weights
by Kira Christina
BEAUTIFUL MOVEMENT
Have you ever noticed a ballerina’s back? There is often a beautiful combination of strength, definition, posture, and ease through the upper back and shoulders that makes even a simple movement look incredibly polished. And while professional dancers may certainly use supplemental strength training, you don’t need a rack of dumbbells to understand where some of that strength comes from. Ballet itself is highly physical, and all of those seemingly effortless movements require muscular control, endurance, coordination, and plenty of repetition. I recall auditioning for the Jilliana School as a teen. Jilliana herself was hosting the audition class. My Mom and I both reminisce about this… She was strikingly elegant. But her back, it was so strong and gorgeous and toned! Today Jillana is still setting ballets for The Balanchine Trust worldwide and running her famous ballet schools. She was born in 1934.
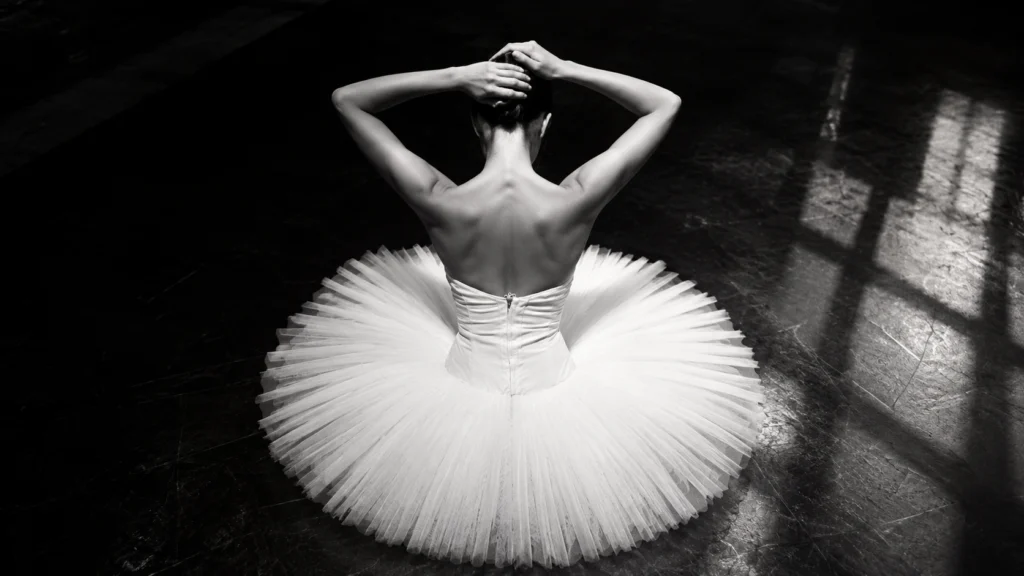
One of my favorite examples is port de bras, the carriage of the arms. It can look wonderfully easy from the outside, but try holding your arms in second position for a minute and suddenly you have a very different opinion of the exercise.
That’s because ballet isn’t simply about moving your arms from one position to another. The dancer is creating a feeling of resistance throughout the movement, almost as though the arms are traveling through water. Every position is placed intentionally, every transition is controlled, and the muscles are working to keep the arms supported rather than simply letting them hang from the shoulders.
University ballet programs regularly emphasize strength, endurance, alignment, coordination, and port de bras as part of classical training. The University of Iowa, for example, specifically describes the integration of the spine and limbs for port de bras and épaulement, while Boston University includes strength, endurance, control, coordination, and carriage of the arms in its ballet curriculum.
And here’s the fun part: you can borrow a little of that ballet training for your own workout at home.
You don’t need a barre, although having a sturdy chair or countertop nearby can be helpful. You don’t need weights. What you do need is good posture, a little patience, and a willingness to make those beautiful ballet arms work.
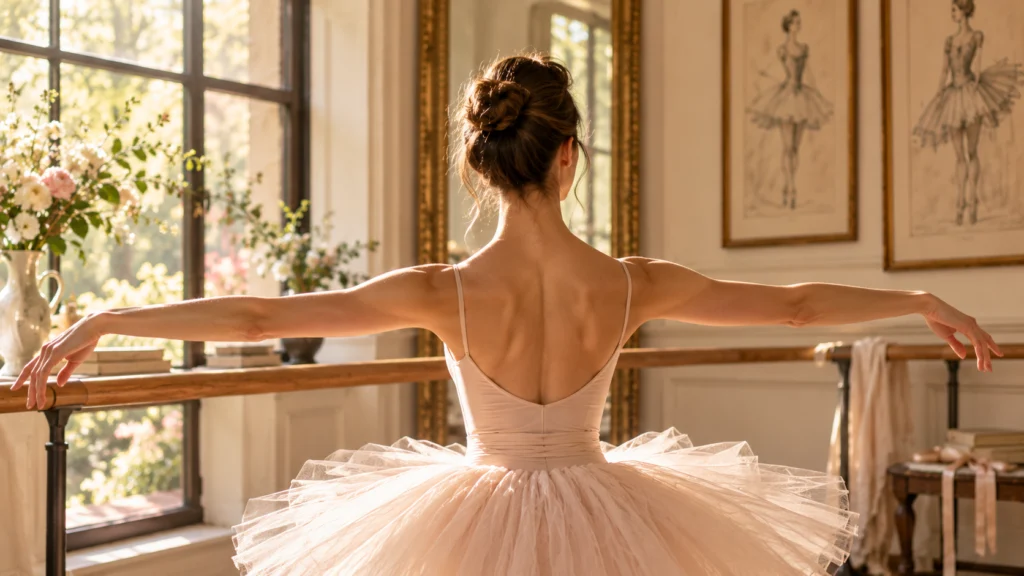
Before You Begin: Think Resistance
The secret to this little series is the feeling of resistance.

Don’t fling your arms into position and let gravity take over. Instead, imagine that you’re moving through water. As your arms travel, feel the muscles around your shoulders, upper back, and arms working to control the movement. Keep your shoulders relaxed and your neck long, and think about the back of your body supporting the movement rather than allowing everything to happen from the front of the shoulders.
Your spine should stay long and well organized rather than arching or collapsing as your arms move. Think lifted through the crown of your head, ribs comfortably stacked over your pelvis, and shoulders relaxed away from your ears.
Once you have that feeling, let’s get to work!
1. Hold Second Position
Begin standing tall with your arms extended out to the sides in second position. Your elbows should have a soft bend rather than being locked, and your hands should continue the line of your arms with relaxed fingers.
Now hold it.
This sounds almost comically simple, which is usually a sign that we’re about to discover something interesting.
Start with about 30 seconds and gradually work your way toward a minute as you become stronger. Keep your shoulders relaxed, your chest open without pushing the ribs forward, and your spine long. Resist the temptation to let the arms gradually sink toward the floor.
The goal isn’t to see how high you can hold your arms. It’s to maintain the position with control and good alignment.
That’s your first little ballet-back burner.
2. Take Second to High Fifth
From second position, slowly bring your arms upward into high fifth.
Here’s where I want you to really exaggerate the feeling of resistance. Imagine that the air around you has suddenly become thick, like you’re moving through warm water. Take your time as the arms travel upward rather than simply lifting them.
Arrive in high fifth and hold for about two seconds, then return to second with the same controlled resistance.
Repeat 8–10 times.
The return is just as important as the lift. Don’t simply drop the arms back down. Imagine that you’re pressing gently against that imaginary water the entire time.
That’s where the fun is.
3. Hold High Fifth
Now we’re going to stay there.
Take the arms overhead into high fifth and hold them for up to one minute.
If a minute sounds like an eternity, start with 20 or 30 seconds. There is absolutely no prize for forcing a position your body isn’t ready to hold well. You want to maintain beautiful alignment and control rather than hanging into your lower back or letting your shoulders creep upward.
As you hold, continue breathing normally and keep the feeling of length through your torso. You may discover that one minute is considerably longer when your arms are overhead.
4. Add Tiny Circles in Second
Return the arms to second position and begin making tiny circles with your hands and arms.
Keep the circles small. Really small.
The temptation will be to make them bigger once your muscles start getting tired, but that’s exactly when I want you to get more precise instead. Keep the shoulders relaxed and maintain the long line of the arms.
Circle in one direction for about 20–30 seconds, then reverse.
This is a deceptively good little endurance exercise because your arms are working continuously while your body has to maintain the same beautiful posture underneath them.
5. Finish With First to Second
For the final exercise, bring your arms into first position in front of the body, then slowly open them into second.
Think of this as the same resistance exercise from number two, but now you’re working through a different pathway.
Begin in first, open to second, pause, and then return to first. Keep the movement smooth and deliberate. Imagine that your arms are traveling through water in both directions, and resist the urge to rush once you become tired.
Try 8–10 repetitions.
By now, your arms and upper back should be quite aware that we have been doing something.
Put It All Together
Once you’ve practiced each movement individually, you can turn the five exercises into a lovely little ballet arm and back series:
Second-position hold: 30–60 seconds
Second → high fifth: 8–10 repetitions
High fifth hold: 20–60 seconds
Tiny circles in second: 20–30 seconds each direction
First → second: 8–10 repetitions
Rest briefly if you need to, and repeat the entire series once more.
As you become stronger, you can gradually increase your holds rather than immediately trying to make everything longer and harder. The quality of the movement is what we’re after.
The Beautiful Thing About Ballet Arms
There is something rather clever about port de bras. The movements are graceful because they’re controlled, not because they’re effortless. That distinction is worth remembering.
When you watch an experienced dancer, you may see a beautiful arm sweep and think, That looks easy. But underneath that lovely movement is strength, coordination, endurance, posture, and years of practice. The University of Iowa’s ballet program describes port de bras as part of the integration of the spine and limbs, while Boston University’s ballet curriculum connects port de bras with the athleticism, fluidity, and musicality of ballet. That’s what we’re borrowing here. Not the pointe shoes, nor the rehearsal schedule, but rather the beautifully controlled resistance.
And if you practice this series regularly, you’ll likely find that your awareness of your shoulders and upper back improves along with your endurance. More importantly, you’ll start to understand something dancers have known for a very long time: beautiful movement can be remarkably strong movement. So go ahead and practice your port de bras. Then, when the occasion calls for a strapless or backless dress, you’ll be rather pleased that you did.
Keep Exploring Beautiful Movement
If you enjoy the ballet-inspired thinking behind this series, you might also enjoy The Great Schools of Ballet: Vaganova, Cecchetti, RAD & Balanchine, Gracie’s Guide to the different traditions and techniques that shaped classical ballet.
And for a different kind of strength-and-mobility practice, explore Fittbe Pilates, where controlled movement, alignment, core strength, and full-body coordination are at the heart of the practice.
If flexibility is something you’re working on as well, our Fittbe Journal article Do I Need to Be Flexible to Start Pilates? is a natural next read.

Want to save this and read again later? Pin it!
Make it a Fittbe Day.
Your favorite Pilates & Barre workouts, ready whenever you are.

Pilates • Barre • Good Living
Sources & Further Reading
University of Iowa — Youth Ballet & Community Dance School
Their ballet curriculum discusses functional strength, range of motion, and the integration of the spine and limbs for port de bras and épaulement.
Read the University of Iowa ballet curriculum →
Boston University — Ballet & Dance Courses
BU’s ballet curriculum describes the development of strength, endurance, flexibility, control, coordination, and carriage of the arms, with port de bras emphasized in center work.
Read Boston University’s ballet program →
University of Georgia — Ballet Dance: Course Fundamentals
An accessible university resource covering the physical benefits of classical ballet, including strength, endurance, flexibility, posture, alignment, coordination, and balance.
Read the University of Georgia ballet guide →
ballet back exercises, ballet back workout, port de bras exercises, ballet arm exercises, ballet exercises at home, how to get a ballet back, ballet upper body workout